Showing posts with label Garage. Show all posts

Sunday, May 3, 2020

Drill Press Part 5

I contacted a a bunch of different parts distributors trying to find the resilient rings to mount the motor with. What I did find out was the Marathon motor was originally sold to be used in an assembly for some type of HVAC equipment and didn't have a standard catalogue number that could be used to determine what rings were on it or if they were proprietary to the installation. After wasting a massive amount of time trying to find the correct resilient rings and purchasing two sets that were "the right ones", I used the last set I purchased to center the motor on the mount. I made some brackets, welded the case to the mount and cut the ends off that attached to the resilient rings. Yesterday I finished up the wiring and mounted a light I purchased off Amazon. I'm very impressed with the build quality and brightness of the light for its cost, its also a very nice 5 to 6k color. I will definitely buy a couple more.


The press is useable now but I have two more things I want to do with it. I need to purchase a new belt for it and either make or purchase a down stop.

Thursday, April 16, 2020

Drill Press Part 4

I spent some time since last weekend searching for machine knobs. I found some on Amazon but the delivery dates on them were at best in May. I ended up finding some nice textured ones at Grainger for less than $2.00ea.

I had an hour tonight to get the rods threaded and install them.


Tomorrow I'm contacting a Marathon distributor to see if I can figure out the resilient rings on the motor.

Sunday, April 12, 2020

Drill Press Part 3

Today I spent the better part of the day trying to bead blast the wheels for my corvette. The factory paint on them wasn't done very well and one has some minor curb rash so I thought I would repaint them. Unfortunately only blaster I have available to me large enough to put them in had plastic media and while it would remove the paint I estimate it would have taken me 3+ hours a wheel.

Because I wasted the better part of the day with that, I didn't get much done on my drill press.

I did get the quill spring cleaned, painted and installed, along with the motor plate which I some how forgot completely about when I blasted all the other parts. The plastic beads worked ok on it, I just need to paint it now.


I also got some quill handles made, this is one part I'm confused about. Every photo I have seen of this model has a quill handle that bolts to the end of the pinion. My pinion has a hole that is about 1/4" that is not very deep and not threaded, so I'm not very sure how the original handles attached. Anyway I made some from 1/2" rod and threaded them into a sleeve at a 18° angle. Now I just need to find something to use for knobs. I found an old umbrella handle but I don't really want to wait till I break two more.


Saturday, April 11, 2020

Drill Press Part 2

Last weekend I borrowed my buddies blast cabinet and cleaned up most of the drill press castings. Wednesday it was warm enough here to paint what I had blasted.

The biggest pain was cleaning the support column, the rust on it was fairly thick but fortunately it didn't pit the metal.


I got about 70% of it put back together today.


I still have some details to figure out. It didn't have any quill feed handles or a depth stop, I think I can make both. The thing that has me a bit baffled right now is the motor mounts. It has a Marathon 1/2 horse motor with resilient ring mounts, the mounts are shot and I have no idea how to remove them from the end plates on the motor or what to buy to replace them. I have had zero luck matching the data plate to anything I can find online. I did find a major supplier for Marathon motors, I'm going to call them next week and see if I can get more information or what replacement rings to buy.

Saturday, March 28, 2020

Drill Press Part 1

Picked up a new project today off of Craigslist, a Walker Turner 1200. From what information I can find it was built around 1948-1949.


The good:
  • It was cheap.
  • The bearings feel good with no play.
  • It runs
  • It has a nice large base
  • The table is relatively undamaged


The bad:
  • No low speed
  • The belt cover is missing
  • The quill handles are missing
  • The depth stop is missing


I have it mostly apart now and plan not to fully restore it but make it functionally sound as possible. Its my first drill press and I don't know much about them so it should be fun

Monday, March 2, 2020

Saw Stand

I got this nice table for my cold saw two weeks ago for free. Its standard height but has casters welded on it. For now I'm going to leave them on because I need it to be portable, when I get into a place that is larger Ill set it on the floor.


Sunday, March 1, 2020

Welding Cart Part 3

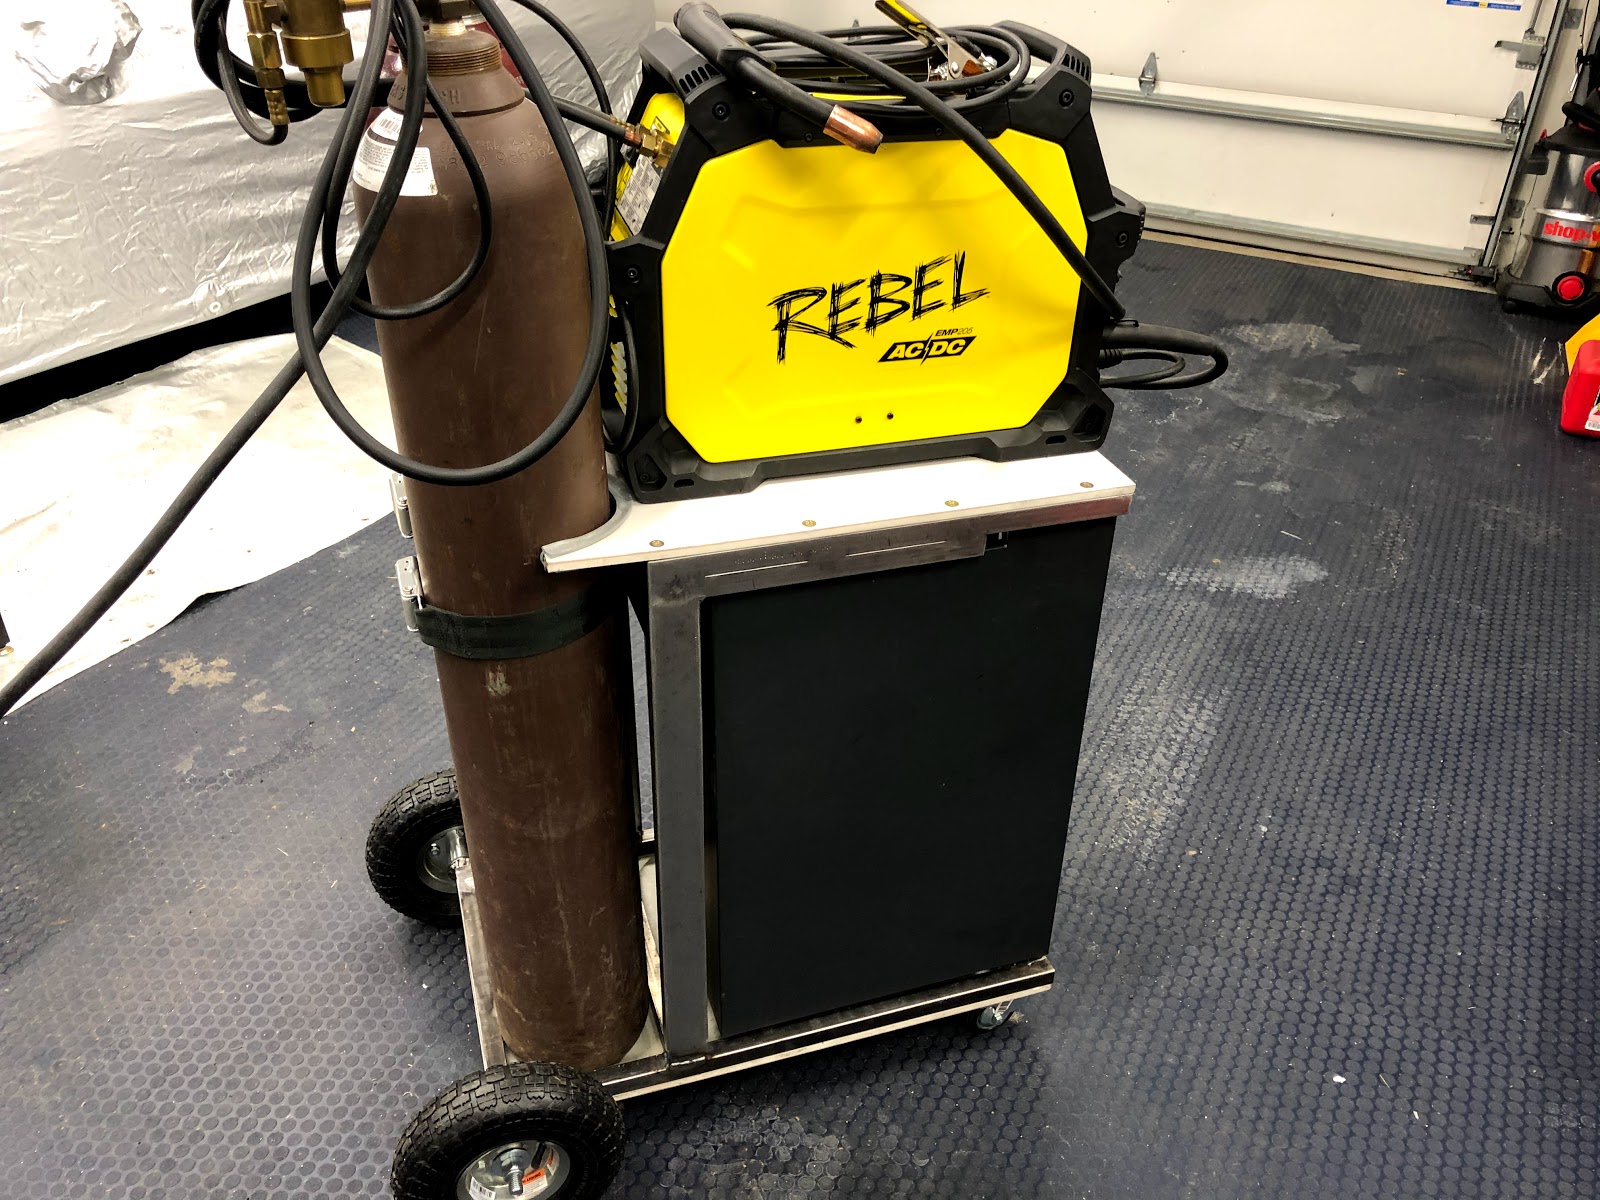
Over the last few weekends I finished the welding cart that was becoming a science project.

After I started painting the drawers, I decided I didn't like the look of the drawer pulls with them being curved out and rounded on the edges. There wasn't enough material to to square them off so I made some new ones from 7075 extrusion.


For the same reasons I decided to make a squared off handle for the cart, my intent was to match the angles of the handles on the welder.


This weekend I took the cart apart, finished some welds I couldn't get to with it assembled, prepped it for painting and hauled everything downstairs to paint it. It was 54° today but not warm enough to paint in the garage or outside.


Today the paint was dry but was still fairly soft, I spent about 45 minutes going over it with a head gun, hauled everything back out to the garage and started reassembly.


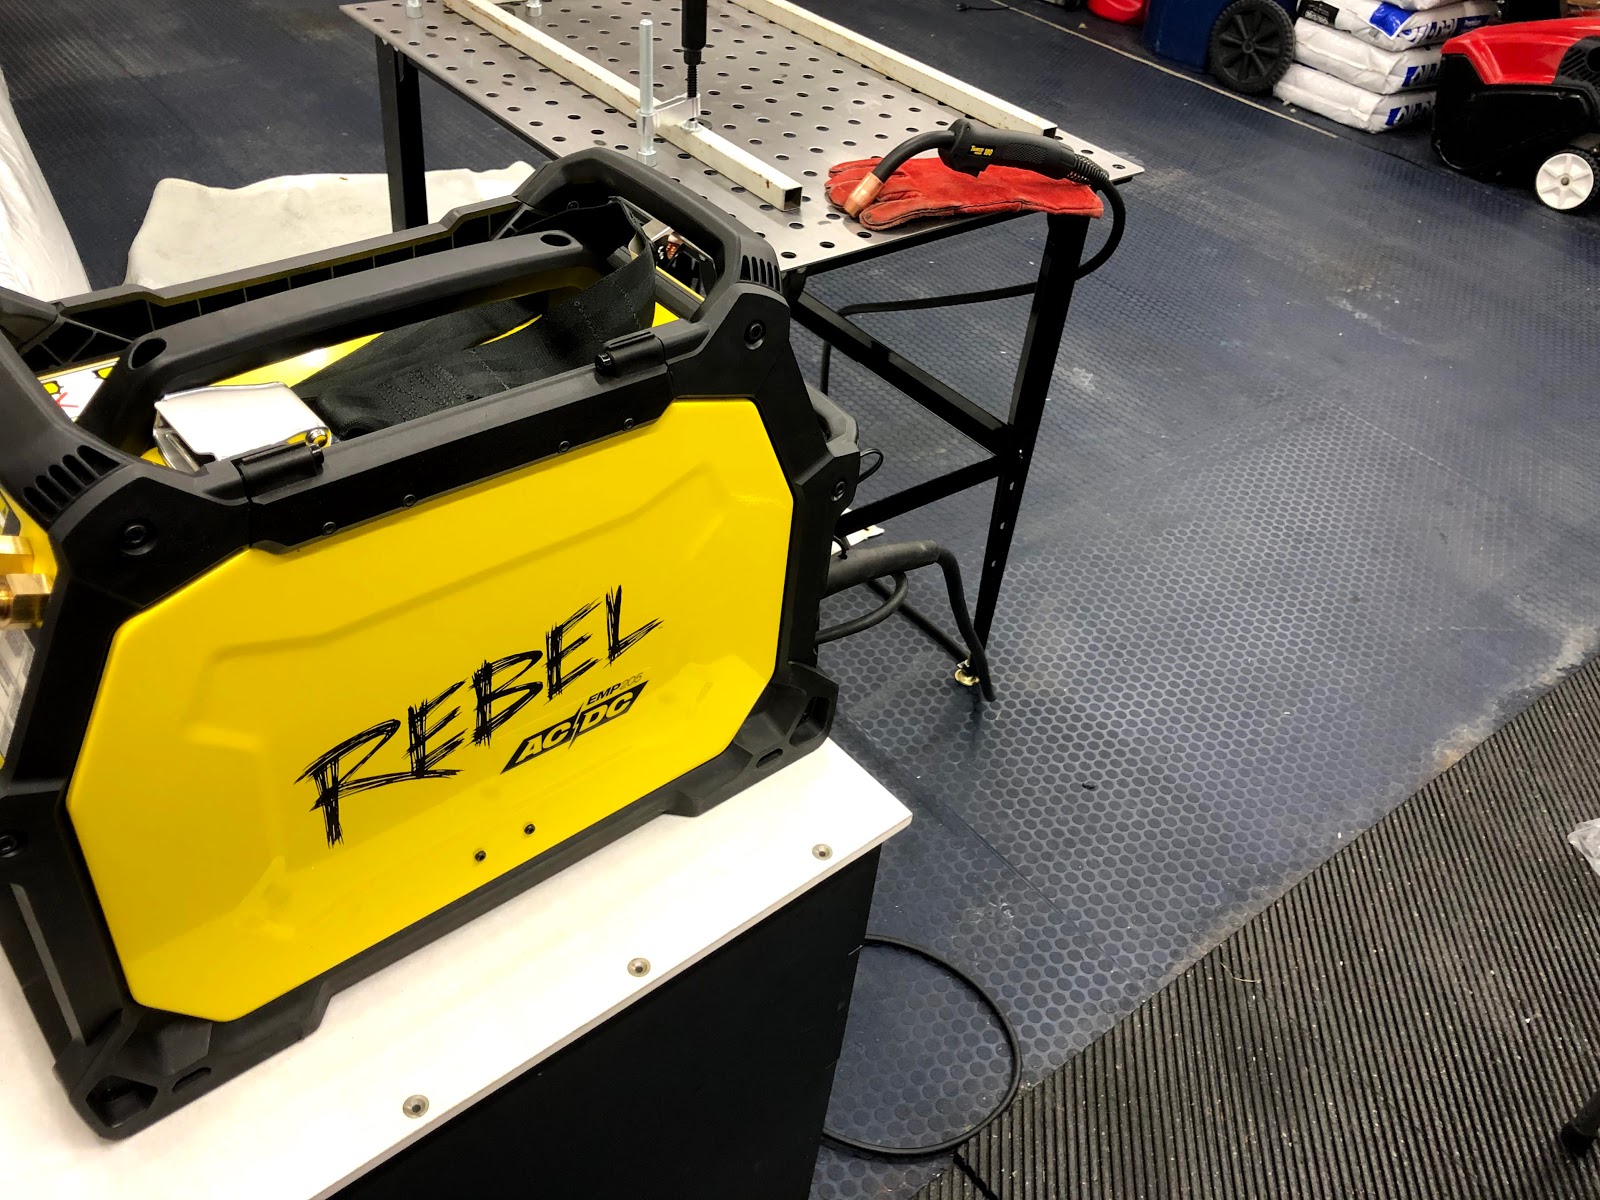
The last pictures are of it fully assembled and finished... maybe. I may make a hanger for the ground cable, I haven't decided yet. I prefer having the mig gun make a big loop over the welder versus trying to coil it up on the side and I'm not sure I want any cable management brackets sticking out from the sides.

I'm very happy with how it turned out and while I only have just over a $100.00 invested I wont do another project like that. The amount of time I spent with cutting up the clothing rack, grinding old welds and splicing pieces to make them long enough far outweighed just buying new material. The metal from the clothing rack would have been useful, just not for this project, it seemed like every piece I had was one inch too short or had three holes that needed to be filled.


Sunday, February 9, 2020

Welding Cart Part 2

The cold weather has been poor motivation for working on my welding cart.

This weekend I got the upper frame made and attached to the base. I mounted the floorboard to the upper frame and cut it to fit the bottles.


I used some 1/2" strap to fab brackets to hold the seat belt extension.


I haven't decided what I am going to do yet for cable management, probably something simple. Once that is done I can takeit all apart and start painting everything.


Sunday, December 29, 2019

Welding Cart Part 1

We went to my moms house for Christmas and on the drive home we stopped in Springfield MO to eat lunch. There was a HF just off the exit so I stopped and picked up some clamps I had seen people on YouTube using for fab tables.These clamps were on sale for $3.19 ea and you simply drill out the rivet at the end and replace the clamp jaw with a solid rod.


Today I got all the paint cleaned off the metal for the base and finished welding it together along
with installing the axles for the rear wheels.


I'm going to use a floor panel from a CRJ for the bottom of the cart and for the welder to sit on.
They are made from honeycomb fiberglass, have inserts already installed and are edge sealed.


Initially I was going to use the file cabinet to set the welder on but it is too flimsy, so I
will build a frame around it and use another floorboard above the file cabinet.

Sunday, December 22, 2019

New Welder

I've been researching welders for a couple years now, I currently have a Lincoln Weldpak 100 that I bought used in the early 90's. I upgraded it to use gas and it works very well within its limitations. I started looking harder when the frame rails on my low hour Gravely ZT42 broke in half. The gussets I used to repair it were at the limits of what the welder could handle and made the whole repair more painful than it needed to be.

I had what I wanted narrowed down to three welders, and decided that I would buy whichever was the best deal over Black Friday. None of them went on sale so I just bought the one I wanted the most  :)

I ended up buying the ESAB Rebel 205ic and I doubt I will ever be able to weld to anywhere near its capabilities.


Most of my experience is with MIG or Oxy Acetylene, I have only stick welded a couple times and have never used a TIG before today. But before I start spending any time pretending to learn that skill, I need to build a welding cart. Having two 255cf bottles strapped to my work bench isn't the most effective way to use my work space, I need them on a cart.

Yesterday I picked up a fab table that was on sale, its nothing fancy but really makes welding square easy. I have some existing material and decided to use as much of it as possible, to this point the only thing I have bought are the wheels and casters.


The frame of the welding cart I'm making from a commercial clothing rack that has 1" x 1" square tubing. The body of the cart is a three drawer file cabinet, which will sit on a fiberglass honeycomb panel screwed to the frame. The bottles will also sit on this panel and be held in place with aircraft seat belt extensions. The top will be another honeycomb panel and will extend past the welder, I will scallop it to fit around the bottles.

At least that's how it all works out in my head, I like reusing old materials but it is always more work than just cutting new materials to the correct size.


Today consisted of some mental design and me playing around with the multitude of settings on the welder. I did get the base cut to size and nearly welded together. The next four days are with the family and Ill try to pick back up on it this weekend.

Wednesday, September 4, 2019

Vice Cleanup

Tania and I took this week off for a staycation and I have a few projects I want to get done.

A while back I broke the retaining bolt in my HF vice trying to tighten it too much. It pulled the threads right out of the casting holding the nut in place and cracked it. I looked at some of the Wilton BASH vices but read mixed reviews on them, so I got my hands on a mid 90s Wilton 450S.


 The vice was mechanically sound other than a few drill starts along the top and some dents in the back jaw where someone beat on it with a hammer.

Thanks to the great information on the  Garage Journal forum I was able to take it apart, clean it up and repaint in about six hours. Not a museum restoration I just wanted it to look nice again. The most difficult part and what took the longest was flat filing the back jaw to remove most of the damage. There are still three marks that weren't worth the amount of material I would need to remove for something that was basically cosmetic.


The vice is mounted to a hitch plate which slides into a receiver I welded to the bottom of the work bench. It lets me move the vice out of the way to use both benches.
 

I like keeping the original machining marks on steel or aluminum whenever possible. The shaft on the front jaw wasn't heavily corroded but wasn't going to wipe clean either. I used a nylon wheel on it which cleaned it very well without leaving any marks like a wire wheel or sand paper would.

Sunday, August 25, 2019

Sill Plates

The sill plates on my corvette are not actually plates but just decals. The one on the drivers side is showing 9 years of me not always completely lifting my foot over the sill while getting in and out of the car. It has actually started to wear through.


These OEM "decals" are stupid expensive and the aftermarket has stainless, polished aluminum and even carbon fiber replacements that make the OEM ones look like a bargain. After looking at pretty much everything available and debating options of making my own I came across the sill plates below that were a reasonable price and I actually like better than the ones that were on the car.


The removal and installation was fairly simple but a day after I got them on the car bubbles appeared in a few areas of the black part of the decal. After looking at them closer I realized these were separate decals that came stuck together. Carefully I was able to slide a razor between the decals and work the air bubbles out.

Sunday, July 7, 2019

Coin Mat

Afew weeks ago I managed to get my hands on some aircraft coin mat, this is a rubber mat that is generally used in the galley areas on commercial aircraft. These mats are approximately 11' x 12', weigh around 60-70lbs and are fire retardant. They have small slightly raised circles with ribbing inside of them, when they are wet the ribbed circles prevent slipping.


This shows the mats laid out in the two car bay, I wanted them to get warm and lay out before I started taping them down. The two mats closest to the door had been down for a week longer and are fairly flat at this point.


This shows the mats a week later after I taped them down. I would have liked that they lined up better but they are not made to be installed as a whole mat so they are not identical to each other in size, each one varies an inch or two. Cutting them the same size to line up the coins would have induced its own issues in trying to cut them perfectly straight so I left them uncut. This also allowed me to roll them up the stem walls.


Ive washed my car numerous times since installing the mats. Ive also pulled them up to see the amount of water that might be getting under them. The main seam had maybe 6" of dampness under the mat, nothing I'm going to worry about. I have nothing invested in these other than my time, if they make the garage smell etc. Ill just pull them out. For now I am very happy with them, I like how they look and the floor is less slippery than bare concrete even when wet. They also made a huge difference in the sound, its much quieter in the garage with the compressor running etc.

Sunday, May 12, 2019

Snowblower - Oil Leak

Two weeks ago I was "summerizing" my snow blower and noticed it had a fairly big oil puddle under it. It has always leaked a little bit since it was new, a few drops here and there but this was a puddle.

Looking at the motor it is mounted to a flanged steel plate which is attached to the main axle. It looked like the oil was coming from around the plate, which appeared to be the bottom of the sump or an oil pan.

Its item #14 in this picture.


The gaskets for this engine are not available separately, you have to buy them as a set for $52.00.

Last week I bought a hole punch set from Harbor Freight in anticipation of making a new gasket, and last Monday I started taking the engine out. It was of course the first thing they put in place when they built the snow blower so getting it out took a little work.


When I unbolted it from the engine plate I realized that was not the leak, it was leaking from the engine side plate. That wouldn't be any harder to make a gasket for, just more things to take apart.

My new Harbor Freight hole punches worked very well and I was able to make a gasket quickly. I did learn one lesson, punch the holes before you cut out the gasket. The material is brittle enough that it will split if the hole is very close to the edge.


Once I got the gasket made it only took a little over an hour to get it back together and running.

Sunday, May 5, 2019

Pressure Washer

Tania bought me a AR Blue pressure washer for my birthday back in February.  I wanted a low volume pressure washer I could connect to my CR Spotless water de ionizer.  Utilizing it will allow me to use less de-ionized water when I rinse the car. The downside is connecting two water sources to it because demonized water is a solvent and left in the pump it will eat it up.  To make this work I needed a bypass for the de-ionizer.

Last year in anticipation of getting a pressure washer, I built a bypass out of PVC. When I connected it last week it literally exploded sending PVC shrapnel around the garage. Looking at it, I have no idea why it failed but the fragile nature of the PVC had me concerned to begin with.  I went to Lowe’s and looked at copper then quickly dismissed that idea due to the cost, so I started looking at PEX.  I was able to source everything necessary from Menards, including all the garden hose adapters.

Because the PEX is much more flexible than PVC or copper, I needed to build a bracket to attach the splitter valve to. I had some aluminum angle left over from a previous project that I highloked together.


Unfortunately I didn’t notice the feet on the valve were too wide for the aluminum.  I debated making a new support or adding a plate to the support. After looking at the valve again I realized I could re-drill the holes closer too each other.


After I re-drilled the holes I trimmed down the ears.


The bracket was easily attached through existing holes in the CR Spotless and the PEX went together rather quickly. I also purchased another section of Gladiator wall system. I had plenty of extra hooks to hang the pressure washer and more importantly the hose which allows me to store it in loose coils. Hopefully this will help with some of the memory these high pressure hoses have.


Now I can easily run normal water through the pressure washer to remove all the de-ionized water.

Monday, April 29, 2019

Parts Storage (Update)

This week I got my hands on 17 large hanging bins for next to nothing. They were covered with grease and oil which I tried to clean with little success until I loaded them in the dishwasher.

Now I can finish loading all the hardware I have in boxes around the garage.